
Hello friends! This is a different kind of post, but it might be one of more important I write. This post could otherwise be titled: “How a Popular Chandelier Almost Burnt My House Down”… or, “Signs You Should Not Install a Light Fixture In Your Home”… or, “Things You Really Need to Know About Lightbulbs!”

Here’s how it all started… After looking at my 1984 ceiling fan with scalloped sconces for TWELVE years, I finally found a light fixture I loved. I ordered it during a President’s Day sale. And honestly, I have learned so many home improvement lessons from this single light fixture.
Lesson #1: Don’t wait to assemble the fixture
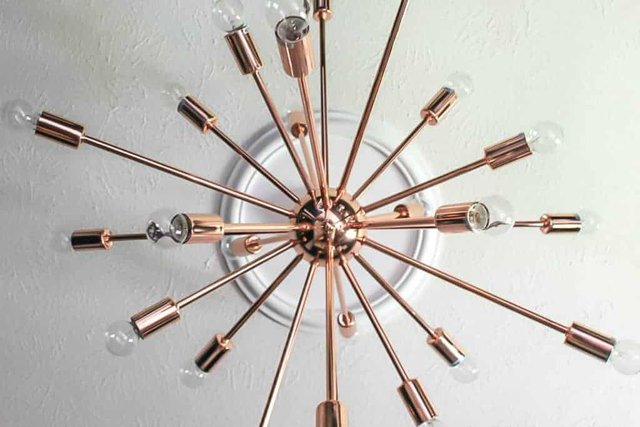
It arrived back in January and I was in the middle of a dozen projects, so it sat until I could tackle it. I think it was some time in March when I finally opened the box. Upon inspection, I realized the wiring was already threaded through the sputnik arms and into the middle of the ball of the fixture. Before the wires from all 24 arms came together, there was a nut on each mini strand of wires that would tighten around the sputnik arm to keep it in place. These nuts are what keep the arms in the starburst shape. In the box, it looked like an octopus with 24 arms. I figured it would be easy to get the nuts onto the sputnik arms. Boy, was I wrong. Really wrong.
The nuts wouldn’t thread onto the arms! I couldn’t try new nuts since the wiring went through them. The nuts were too small. After futzing with it for hours, we surrendered and decided to send it back to the online store. I checked the return policy and I was too late to get my money back! GROAN.

LESSON #2: Improvise and Patience
We ended up using a metal epoxy and C-clips to keep the sputnik arms in place from the inside. Twenty-four times, I had to reposition the chandelier, attach the C-clip (which is no easy feat when you’re working within a tiny 4 foot ball stuffed with a hundred wires), and get epoxy all around the sputnik arm, and then let it cure for 24 hours. This fixture probably sat on my dining room table all summer while it was being put together.
LESSON #3: Check the wattage
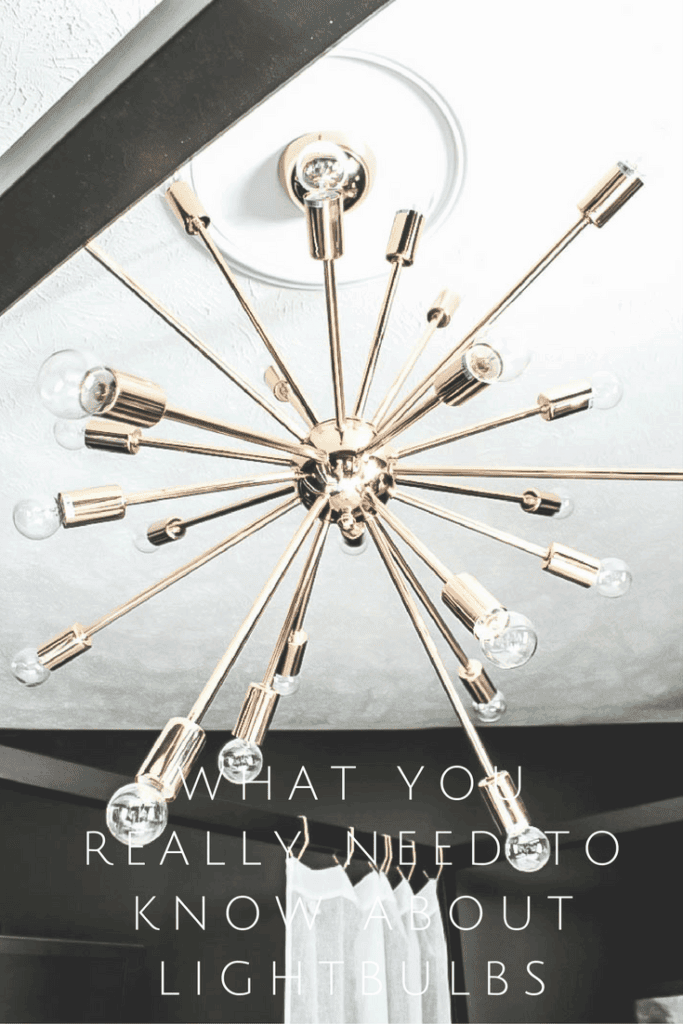
The lightbulbs came with the fixture. They are these really cool looking clear round bulbs that look they they were halfway dipped in copper. Fast forward to my Birthday, and we’re celebrating with pizza and hanging the light. We hang it and then the moment of truth… I flip the light switch, and TA-DA! Wow, this is bright. Immediately one light bulb blows out. And then the burning smell starts. And then we barely touch the fixture (not the bulbs), and it burns our skin. This is not good. Not good at all. We turn the light off. We let if cool off and take out one of the bulbs.
**This is the part that is going to blow your mind**
The bulbs that came with the light are 40 watt bulbs.
There is a small label on each arm of the chandelier that says 25 watts MAX!!!
WHAT?!!!!!!
The manufacturer sent us bulbs that were sending way too much wattage for the light to handle! The light can only handle 600 watts total. The bulbs were sending 960 watts of electricity through the chandelier. I could barley believe it.

LESSON #4: KNOW YOUR LIGHTBULBS
I spent my evenings during the following week learning more about lightbulbs than I ever thought I could learn.
SIZE OF A BULB’S BASE
- This is identified by the letter “E” and then a number after it. For example, E26 is your regular standard bulb. E12 is what is typically referred to as a ‘chandelier’ bulb – they have smaller bases.
SHAPE OF A BULB
- There are many different shape bulbs. Shapes are identified by ‘series’. For example, your regular bulb is an A (for A-series). ‘Candle’ shaped bulbs are identified as “Ca” (for Ca-series). The bulb I was looking for was a perfectly round bulb, aka Globe bulb (“G” series).
SIZE OF THE GLASS BULB
- This is based on the diameter of the glass portion of the bulb. The smaller the number, the smaller the diameter of the bulb. I figured out I was looking for a G12. The 12 indicates a 1.5″ diameter. Thankfully I had one of the manufacturer bulbs to measure to get that dimension.
Here is one of the charts that helped me a lot during this process.
In summary, you need look for two letter-number combos the next time you are in the light bulb aisle:
- E + (12 or 26) = size of the base
- Shape (letter) + glass bulb size (number)
That was a lot of information. I hope you find this post helpful now or sometime in the future. Maybe you found it terribly boring and that’s okay too! As for me, I’m going to enjoy my new chandelier that doesn’t make my bedroom smell like a campfire 😉
Happy home improvement!



Very helpful! I went through a similar situation. Thanks goodness I have a fab electrician. I purchased mine from offerup and the price was right I immediately purchased white 25Watt bulbs. I knew with 18 arms 25watts was enough, unless I wanted a suntan. LOL! Just to let you know I put mine on a dimmer/ switch combo. Great post!.