Hello friends! A few housekeeping things first – I’m sorry that my new post emails haven’t been going out. An updated plugin feature on my site was conflicting with the service that sends emails and it took me some time and a moment of genius to realize what the problem was. It’s fixed and hopefully you are getting this in your inbox this morning. Now I’m working on a Pinterest problem, so if you aren’t seeing a Pinterest button on my site to pin things, I promise it’s very short term. Again, two tech things aren’t getting along, and I’ve got to figure out a solution. (sigh… anyone else have a love-hate relationship with technology?)
I’m sharing a new furniture makeover today. Years ago, I updated a midcentury modern Danish dresser that is now a credenza in my dining room. I also made a fun bench for my garage a couple years ago. Today, I’m showing you how I turned a set of veneer dressers from trash to treasure!

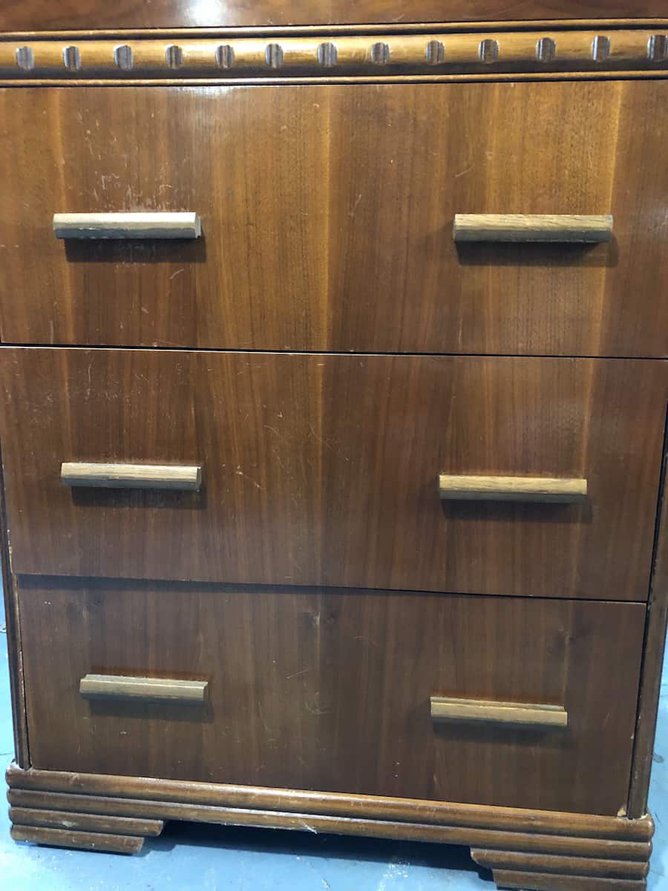
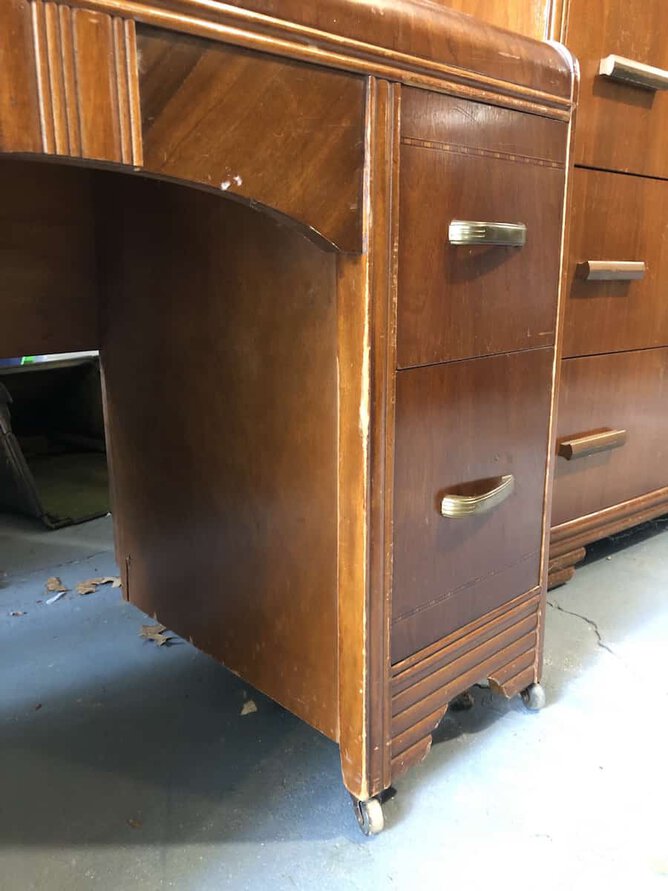
Last winter, I found a set of art deco waterfall dressers on Facebook Marketplace for a whopping $65. If you want to learn my tips for finding amazing furniture and decor online, make sure you sign up for my newsletter. I had been searching for waterfall dressers for a long time, and finally my Facebook stalking paid off 😉 They were in rough shape, and stayed in my garage until this summer.

Affiliate links are provided for your convenience. You can read my full privacy policy here.
I’ve never attempted to repair damaged veneer before and had to do some research. I asked around in hardware stores and one person suggested Howard’s Restor-A-Finish. I got some in Dark Walnut, crossed my fingers and got to work!
Prep Work: I used a super fine sandpaper on the damaged areas. In some areas, I did the whole side if there were enough scuffs, water stains, and scratches. Then I took a clean rag and wiped all of the dust off from the sanding I just did.

Then the magic happened… I grabbed a different clean rag, opened the bottle, put the rag on top and flipped it over so the product would absorb into the rag. I tried it out on a back corner to see how it would take. And it took beautifully.
I went to town wiping all over the pieces. I kept adding more product to the rag. What I noticed was by the end of staining the second piece, it was “covering” the damaged areas so much better than when I first started. I figured it was because my rag was pretty soaked with product, so I went back over the first piece again, and it helped!
Left side, sanded and not done. Right side, done. No joke, this stuff is amazing!
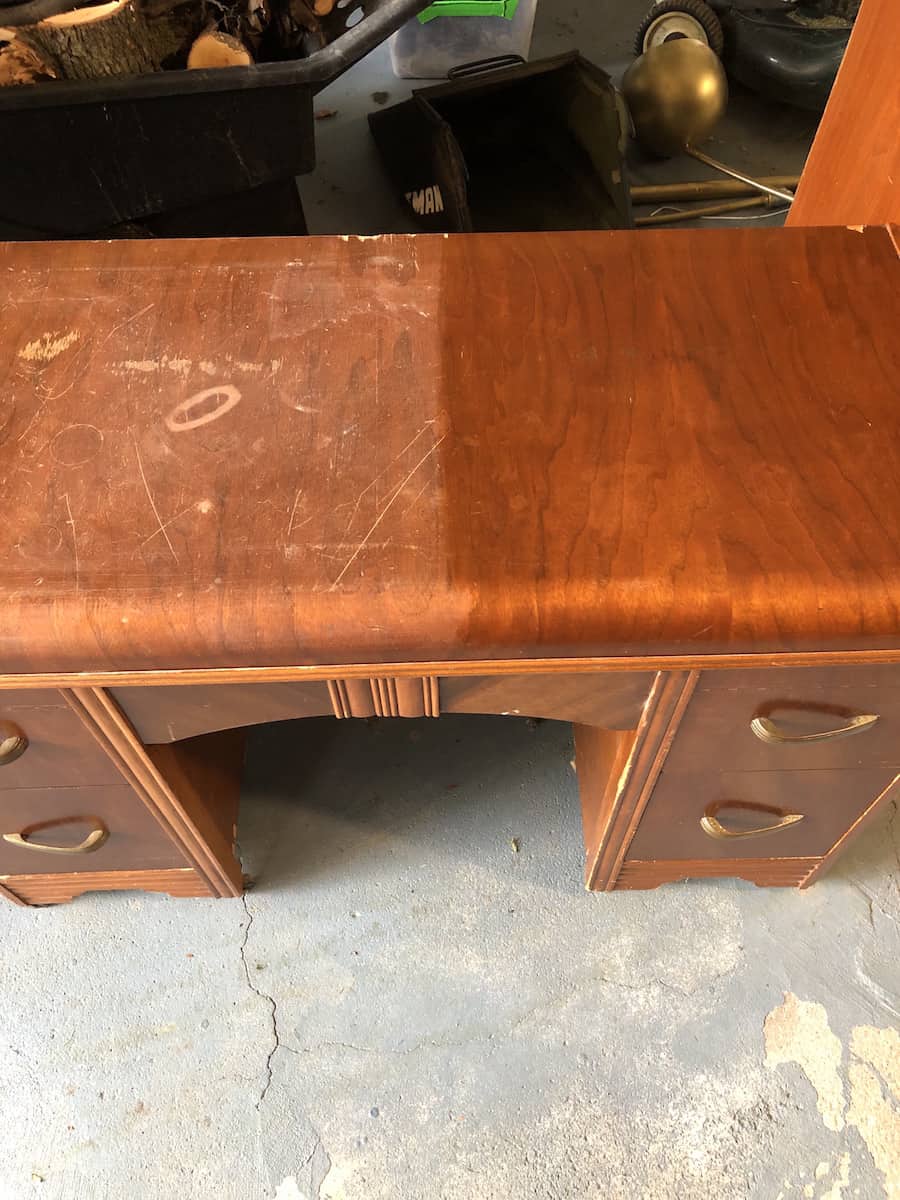
Isn’t the left side of the top of this dresser beautiful?!

The dressers have been done for over a month. There are some spots where I’m tempted to go back in with more product just to eradicate the tiny little bit of some deeper scratches. You’ll see more of the dressers in my bedroom reveal coming soon. But I thought this product was too good not to share in it’s own post. I can’t recommend this product enough. I’m excited to try it on other fixer upper furniture items!
Happy DIY’ing!


Hello Jennifer: I have my grandmother’s antique art deco bedroom suite that I want to have refinished. I read how you refinished the art deco waterfall dressers and I am now thinking I can refinish my grandmother’s bedroom suite myself! Can you tell me what brand of super-fine sandpaper did you use to sand the furniture or where did you purchase it from? I was thinking about ordering an electric sander; however, if I can just purchase some sandpaper instead, then I will. Thanks!
Hi Jen, YOU ARE SO RIGHT! Howard’s Restor-A-Finish is the best way I’ve found to really restore a finish on bargain furniture I’ve found. I have a 4-step process I use that’s similar to what you do. First, I use 240 or 320 grit sandpaper if the wood has deep scratches or water rings I want to level out. Second, I use Murphy’s Oil Soap to totally clean the piece, inside and out. Forms a good starting point for the finish restoration. Third, I use the Howard’s Restor-A-Finish in the matching color (I think they have mahogany, oak, walnut and dark walnut and maybe a couple of other colors). Fourth, I use the Howard’s Feed-N-Wax to seal it up. Using these three or four steps has helped me to turn trash or bargain finds into beautiful treasures! Works fantastically!!
I have a question about some pieces of Art Deco Vanities that have the beautiful veneers and strips of pretty looking diamond patterns, etc. Are these inlay or some other form of decoration? Are they a pattern veneer that was tediously applied? I have a beautiful vanity, and I want to restore it, but want to keep many of these details, but am afraid of losing them. Can your help?
It looks amazing. I was going to use that on a mid-century modern Walnut veneer piece of furniture I have but on all the mid century modern furniture restoration groups on Facebook they say never use Howard’s because it is really just a quick fix and if you ever wanted to refinish the furniture you can’t. Also if there’s any scratches with the wood exposed it will stain them and it won’t match the rest of the finish. So anyways I’m not sure what to do.
Very informative…! Thank you 😊
Do you recall what color Howard’s you used on this piece? I have 2 pieces I would like to do. Many thanks
This product is AMAZING! I have used it for years and saved many pieces with it. I do things just a bit differently, however. I clean with Murphys oil soap and make sure to let it dry thoroughly. I don’t use sandpaper. I use steel wool as fine as works — you can always increase the roughness. Use plenty of product and do not press hard. Small area, wipe before it drys. I have also found that for detail or inlay, I used product a shade lighter with terrific results. The lighter shade really brightened my results. LET IT REST. When you have the piece looking like you want it and it is completely dry, then you can protect and polish with wax. Just my opinion!